Owning a trampoline can bring a lot of fun and happiness to the family. You might think that these are mostly for kids, but this is where you are wrong. Lots of adults buy them in larger sizes so that they can jump on them as well. Bouncing on a trampoline is a great way to blow off some steam, reduce stress, and even improve your physical health.
There are plenty of exercises that can be done on a device like this. Daily jumping will keep you in great shape. The device, as mentioned above, can be used by kids and adults as well. There are also several types of trampolines that you should consider before you make your purchase. Check out the link to learn more https://medium.com/@HealthBenefitsofTrampoline/the-incredible-health-benefits-of-owning-a-trampoline-eba8f246f538.
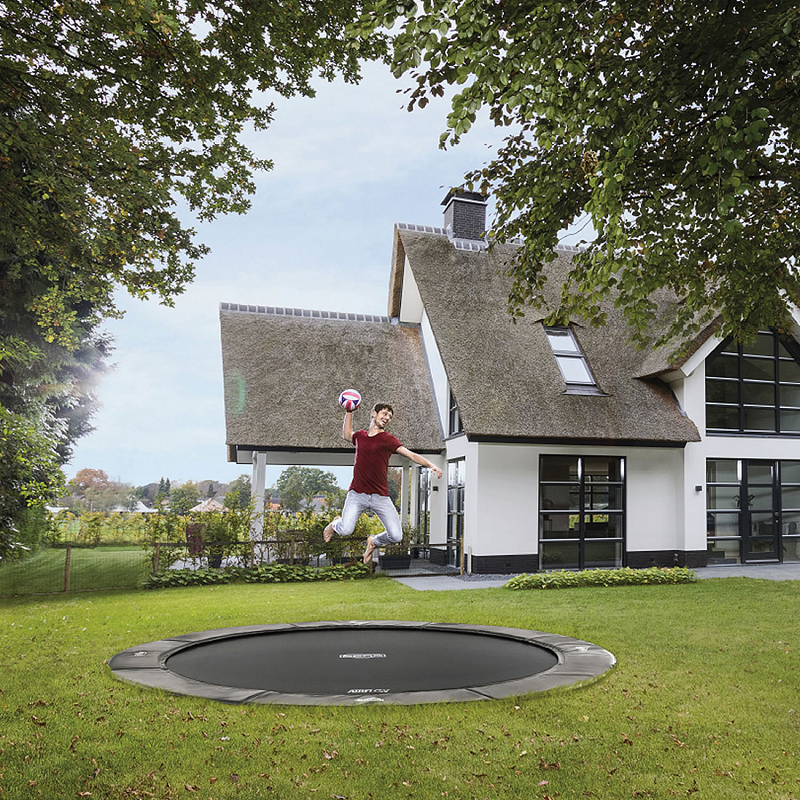
Nowadays, the most popular ones are the in-ground trampolines. They are large, practical, and can bring a lot of joy to the family. Some people don’t know how to install them correctly, but all you need to do is follow a guide. The installation process won’t take much of your time anyway. Here are the following steps you should follow in order to correctly install your brand new in-ground trampoline:
Figure out the location
First of all, you should determine where you want it to be installed. Plenty of them are installed outside, so you can jump as high as you want to. You won’t be able to do it inside because you would have to dig a hole in the ground, plus, the ceiling will prevent you from jumping properly.
Therefore, you should pick a nice spot outside. The spot shouldn’t be surrounded by fences, trees, and flowers because they will get in the way. What if you hit your head on a branch? The ideal location should be in a broader area where all of the things mentioned above will be at least 2 meters far from the device. Read more on this page.
Mark the location
The second step is to mark the location where the device should be installed. Trampolines come with tape measures that will allow you to do just that. You will not have to run to the store to buy one. As mentioned above, there are different designs and there are also different sizes.
You should observe the sizes in the instruction manual that comes with the product as well. This will give you a sense of how broad the hole needs to be. Once you have the markings, you should prepare for the next step.
Start digging
Now, it is time to get to the dirtier stuff. You would have to dig out the hole in the shape of a bowl. Your markings will guide you through the process. As long as you follow them, you shouldn’t have a problem. One of the best things about owning an in-ground trampoline is that you will not have to dig a deep hole. You won’t have to waste hours and hours of digging when the whole thing can be over after an hour.
You are nearly done with the inground trampoline installation and as you can see, you will not have to hire professional services to take care of the project, when you can do it on your own. That’s the beauty of devices like these. They are made to be practical and easily installed.
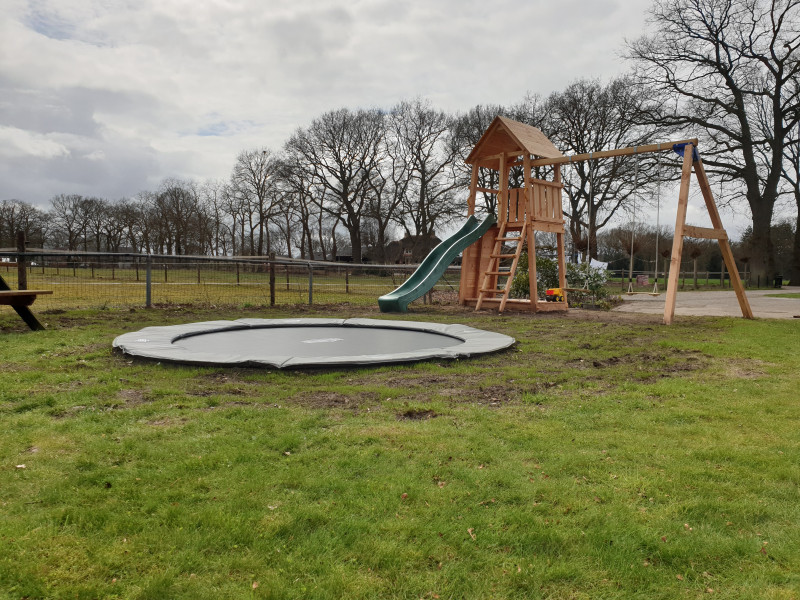
Place the trampoline on top
When the hole is perfectly dug out into the shape of a bowl, then you can proceed to place your device on top of it. The device has short legs, which will allow you to place it on top of the hole without any problems. Make sure that the legs are deep in the ground. This way, they will be protected by the soil and won’t start to rust anytime soon. In a way, you are making your trampoline more durable.
Plus, the shorter legs make it more stable. If your kids want to jump on it, they will be much closer to the ground, and they can balance their jumps more. How amazing is that? The same thing goes for adults as well. Owning this type is one of the best purchases ever.